Best Bagels Recipe
Finding the perfect Bagels Recipe can feel like a quest for the Holy Grail of breakfast breads. I remember my first attempt, which resulted in something closer to a hockey puck than a chewy, delicious bagel. It was a humbling experience that sent me on a journey to master the craft. This comprehensive guide will walk you through every step, ensuring your homemade bagels are better than any bakery’s. Forget dense, store-bought imitations; we’re creating the real deal. Get ready to fill your kitchen with the incredible aroma of freshly baked bread. This Bagels Recipe is about to change your baking game forever.
The 5 Secrets Behind This Revolutionary Bagels Recipe
What separates a good bagel from a truly transcendent one? It’s not magic, but a combination of proven techniques. The first secret is high-gluten bread flour, which gives bagels their signature chewy texture. Many home bakers skip this, but it’s non-negotiable for authentic results.
Second, we use a two-step cooking process: boiling then baking. This creates that shiny, crackly crust we all love. The boiling step sets the exterior, giving the bagel its unique identity. This method is well-documented by baking authorities like King Arthur Baking.
Third, proper kneading develops the gluten network essential for the perfect chew. Don’t be afraid to put some muscle into it! Fourth, malt syrup or barley malt syrup in the boiling water adds that classic, subtle sweetness and beautiful color.
The final, often-overlooked secret is patience during the proofing stage. Rushing this step is the most common mistake. Let the dough rise slowly for the best flavor and texture. Mastering these five elements will make this Bagels Recipe your new go-to.
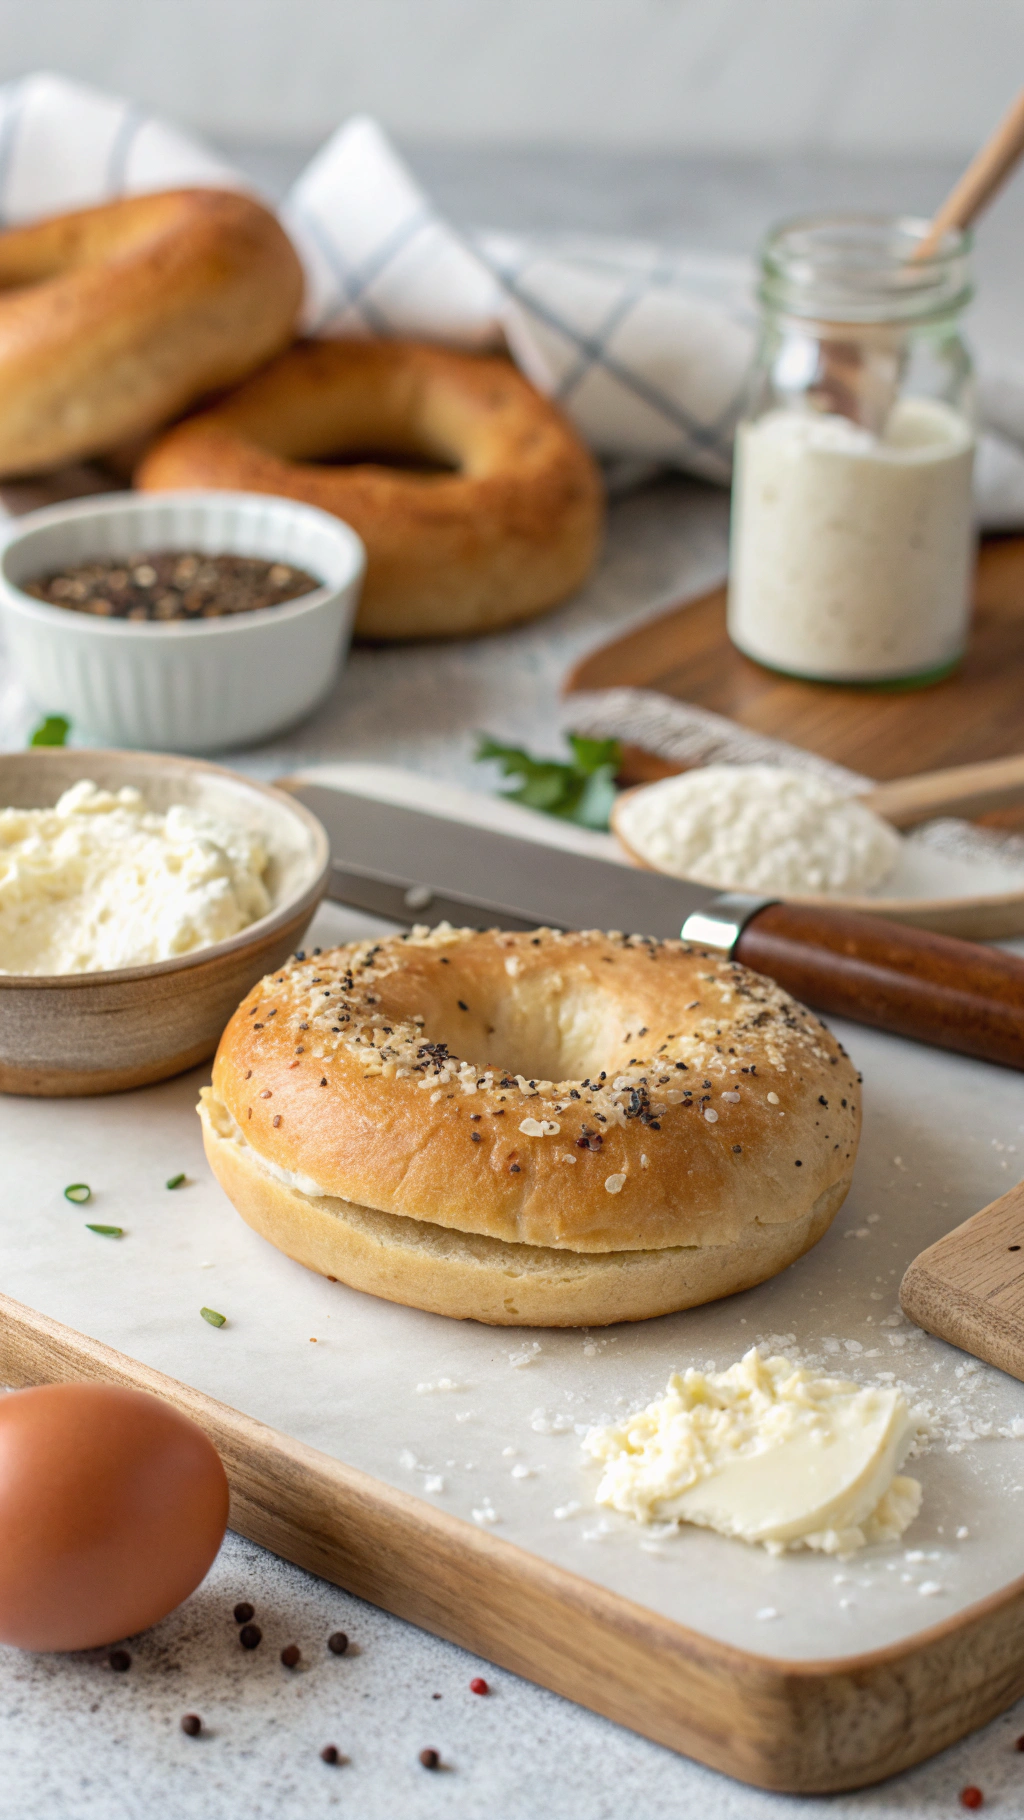
Ingredients
- 4 cups (500g) high-gluten bread flour
- 1 ½ cups (360ml) warm water (around 110°F/43°C)
- 2 ¼ teaspoons (7g) instant yeast
- 2 teaspoons (12g) fine sea salt
- 2 tablespoons (25g) granulated sugar
- 1 tablespoon (15ml) vegetable oil
- For the water bath: 8 cups water + ¼ cup (60ml) malt syrup or honey
- Optional toppings: everything bagel seasoning, sesame seeds, poppy seeds, coarse salt
Instructions
- In a large mixing bowl, combine the warm water, yeast, and sugar. Let it sit for 5 minutes until foamy. This activates the yeast, ensuring your bagels will rise properly.
- Add the bread flour and salt to the yeast mixture. Stir with a wooden spoon until a shaggy dough forms. It will look messy at first, but that’s perfectly normal.
- Turn the dough onto a lightly floured surface and knead for 10-12 minutes. You’re looking for a smooth, elastic dough that springs back when poked. This kneading is crucial for developing gluten.
- Place the dough in a lightly oiled bowl, turning to coat. Cover with a damp cloth and let rise in a warm place for 1-1.5 hours, or until doubled in size. Patience is your friend here.
- Punch down the risen dough to release air bubbles. Divide it into 8 equal pieces. Roll each piece into a smooth ball, then poke your thumb through the center to form the classic bagel shape.
- Place the shaped bagels on a parchment-lined baking sheet. Cover and let them rest for 30 minutes. Meanwhile, preheat your oven to 425°F (220°C) and prepare the water bath.
- Bring the 8 cups of water and malt syrup to a boil in a large pot. Boil the bagels in batches, 2-3 at a time, for 1 minute per side. They will puff up slightly—this is what you want!
- Remove the boiled bagels with a slotted spoon, drain briefly, and return to the baking sheet. If adding toppings, sprinkle them on now while the surface is still wet and sticky.
- Bake for 20-25 minutes, or until deeply golden brown. Rotate the baking sheet halfway through for even coloring. Your kitchen will smell absolutely incredible.
- Transfer the baked bagels to a wire rack to cool completely. I know it’s tempting, but try to wait at least 15 minutes before slicing. The structure needs time to set.
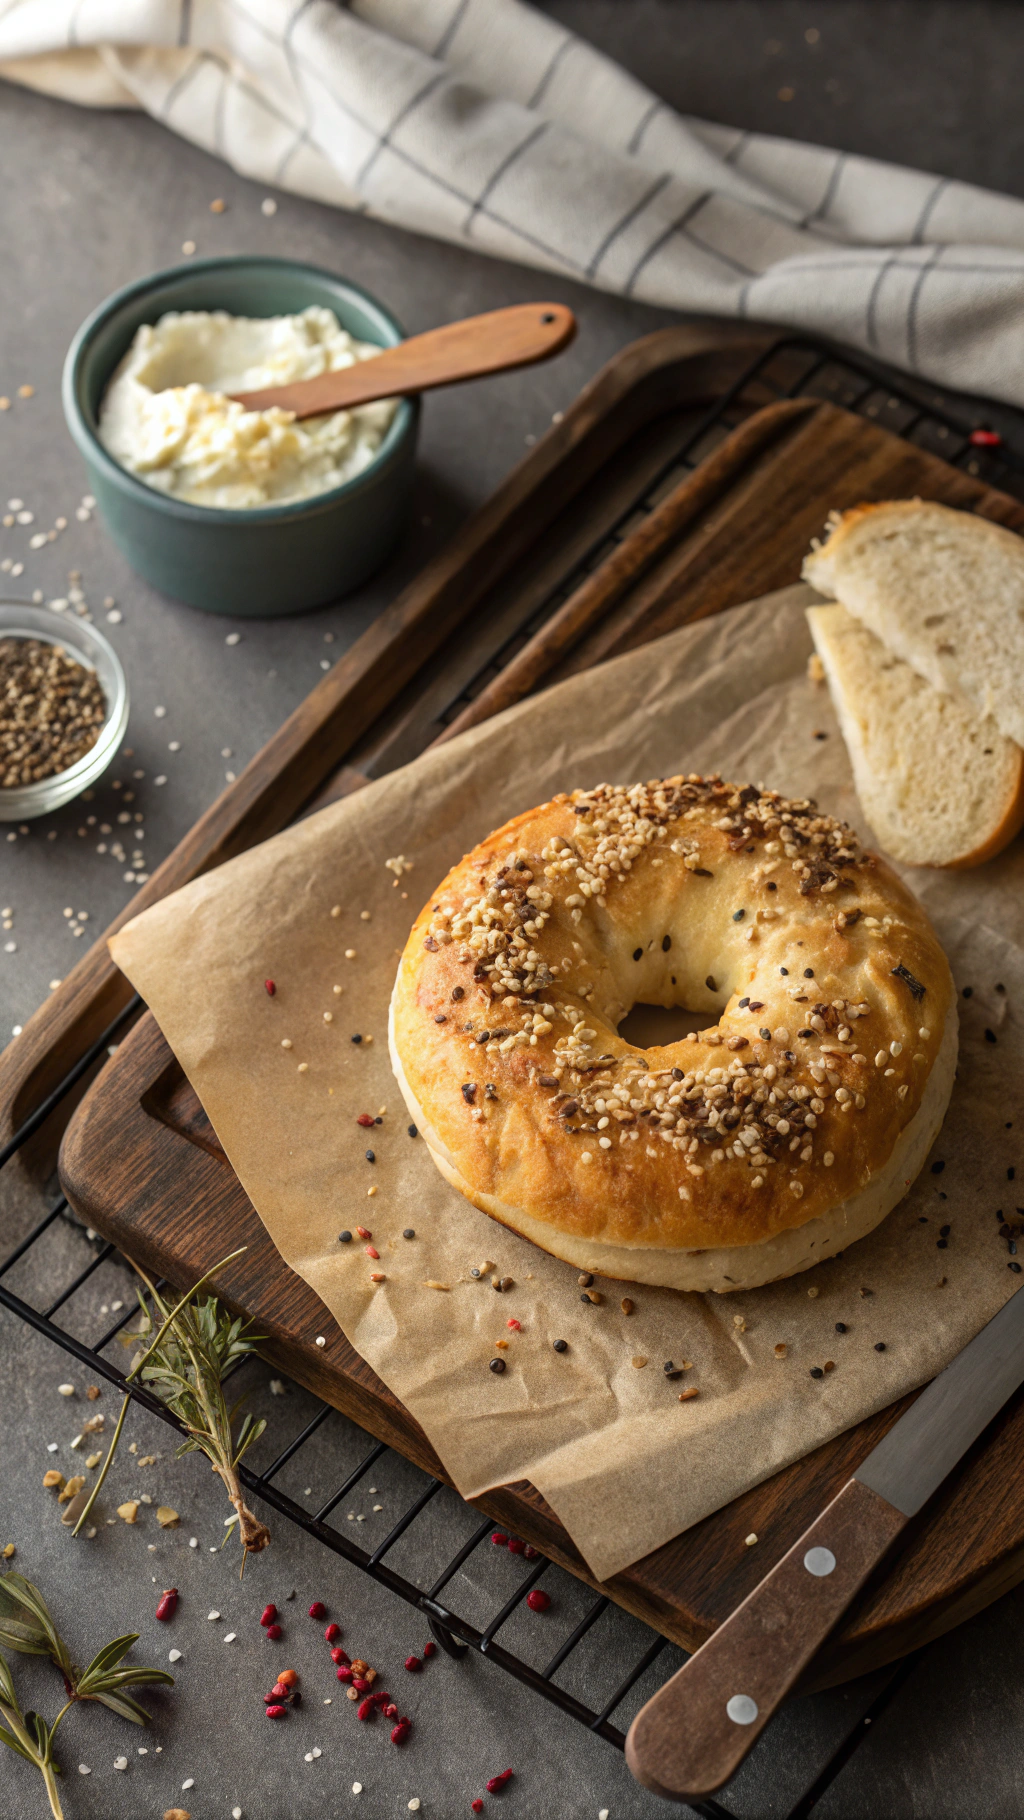
Storage and Reheating Tips
Freshly baked bagels are best enjoyed the same day, but they freeze beautifully for later. Let them cool completely before storing to prevent moisture buildup. IMO, this is the key to maintaining that perfect texture.
For short-term storage, keep them in a paper bag at room temperature for up to 2 days. Plastic bags make them soft and chewy rather than crisp. For longer storage, slice and freeze in a freezer-safe bag for up to 3 months.
To reheat, toast frozen bagel slices directly from the freezer. For a truly next-level experience, briefly run the frozen bagel under water before toasting. This recreates the fresh-baked steam effect. You’re welcome!
7 Incredible Benefits of This Homemade Bagels Recipe
Why go through the effort of making bagels from scratch when you can buy them? The benefits might surprise you. First, you control every ingredient, avoiding preservatives and artificial additives common in commercial products.
Second, the flavor is incomparable. Fresh-from-the-oven warmth and yeasty aroma simply can’t be replicated. Third, it’s incredibly cost-effective. This entire batch costs less than two premium bakery bagels.
Fourth, you can customize everything from the flour blend to the toppings. Dietary restrictions? No problem. Fifth, the process is genuinely satisfying and therapeutic. Kneading dough is a fantastic stress reliever.
Sixth, you’ll impress everyone. Homemade bagels make you look like a baking rock star. Finally, according to Healthline, baking at home has demonstrated psychological benefits, reducing stress and boosting creativity. This Bagels Recipe offers more than just a tasty breakfast.
5 Common Bagel-Making Mistakes to Avoid
Even experienced bakers can stumble when making bagels. The most common error is using all-purpose flour instead of bread flour. The lower protein content results in a softer, less chewy texture that just isn’t right for bagels.
Another pitfall is skipping the boiling step or not boiling long enough. This step is what gives bagels their distinctive crust and dense crumb. Don’t rush it! Over-proofing the dough is also problematic.
If the dough rises too much, the bagels become airy and lose their characteristic density. TBH, I’ve made this mistake myself. Finally, impatience with cooling leads to gummy textures. Let them cool properly before slicing.
Delicious Variations and Alternatives
Once you’ve mastered the basic Bagels Recipe, the customization possibilities are endless. For everything bagel lovers, mix sesame seeds, poppy seeds, dried garlic, dried onion, and salt. Press the topping generously onto the boiled bagels before baking.
For cinnamon raisin bagels, add 2 teaspoons of cinnamon to the dry ingredients and knead in ¾ cup of raisins during the final minutes of mixing. For whole wheat bagels, substitute up to half the bread flour with whole wheat flour.
Need a quicker version? You can reduce the first rise to 45 minutes if you’re pressed for time, though flavor development will be less pronounced. For vegan bagels, the recipe is already vegan as written—just check your sugar source.
Frequently Asked Questions
Can I make this Bagels Recipe without a stand mixer?
Absolutely! This Bagels Recipe was developed with hand-kneading in mind. For more ideas, check out our guide on buttery s’mores hand pies. While a stand mixer with a dough hook makes the process easier, traditional hand kneading works perfectly and gives you better feel for the dough’s development.
Why did my bagels come out dense and hard?
Dense, hard bagels usually result from under-proofing or over-kneading. The dough didn’t have enough time to develop proper air pockets. Next time, ensure your yeast is fresh and give the dough full time to rise in a warm, draft-free area.
What’s the difference between malt syrup and honey in the water bath?
Malt syrup gives bagels their classic slightly malty flavor and beautiful golden-brown color. Honey works well as a substitute but will impart a milder sweetness. Both create that shiny crust, so use what you have available.
How do I know when the bagels are properly kneaded?
The dough should be smooth, slightly tacky but not sticky, and elastic. Perform the “windowpane test”: stretch a small piece between your fingers. If it stretches thin enough to see light through without tearing, it’s ready.
Can I prepare the bagel dough overnight?
Yes! For better flavor development, you can refrigerate the shaped, unboiled bagels overnight after their second rise. Cover them well and let them come to room temperature for 30 minutes before boiling and baking the next morning.
Why do my bagels deflate when I boil them?
This typically means they were over-proofed before boiling. The structure becomes too delicate to handle the thermal shock. Next time, reduce the second proofing time by 10-15 minutes and watch for just slight puffiness, not doubling.
What’s the best way to slice bagels evenly?
Use a serrated bread knife and a gentle sawing motion. For maximum safety and even slices, place the bagel flat on the cutting board and hold it steady with your fingertips on top, away from the knife path. For more ideas, check out our guide on Slow Cooker Pork Loin with Balsamic Glaze. Take your time with this step.
Final Thoughts
Mastering this Bagels Recipe might take a couple of attempts, but the results are absolutely worth the effort. There’s something magical about pulling freshly baked, golden bagels from your own oven. The sense of accomplishment is rivaled only by the incredible taste.
Remember, baking is both a science and an art—don’t be discouraged by imperfections. Each batch teaches you something new. For further inspiration and technical baking guidance, I highly recommend the resources at Baking Industry Alliance. Now go forth and bake the best Bagels Recipe of your life! Share your creations online and tag #HomemadeBagelMagic.

Homemade Bagels
Ingredients
Equipment
Method
- In a large mixing bowl, combine the warm water, yeast, and sugar. Let it sit for 5 minutes until foamy. This activates the yeast, ensuring your bagels will rise properly.
- Add the bread flour and salt to the yeast mixture. Stir with a wooden spoon until a shaggy dough forms.
- Turn the dough onto a lightly floured surface and knead for 10-12 minutes until smooth and elastic.
- Place the dough in a lightly oiled bowl, cover, and let rise for 1-1.5 hours until doubled in size.
- Punch down the dough and divide into 8 equal pieces. Shape each into a ball, then poke a hole through the center to form bagels.
- Place shaped bagels on a parchment-lined baking sheet. Cover and let rest for 30 minutes. Preheat oven to 425°F (220°C).
- Bring water and malt syrup to a boil. Boil bagels in batches for 1 minute per side.
- Remove with a slotted spoon, drain, and place back on the baking sheet. Add toppings while bagels are wet if desired.
- Bake for 20–25 minutes until deeply golden, rotating the tray halfway through.
- Transfer to a wire rack and cool completely before slicing.

